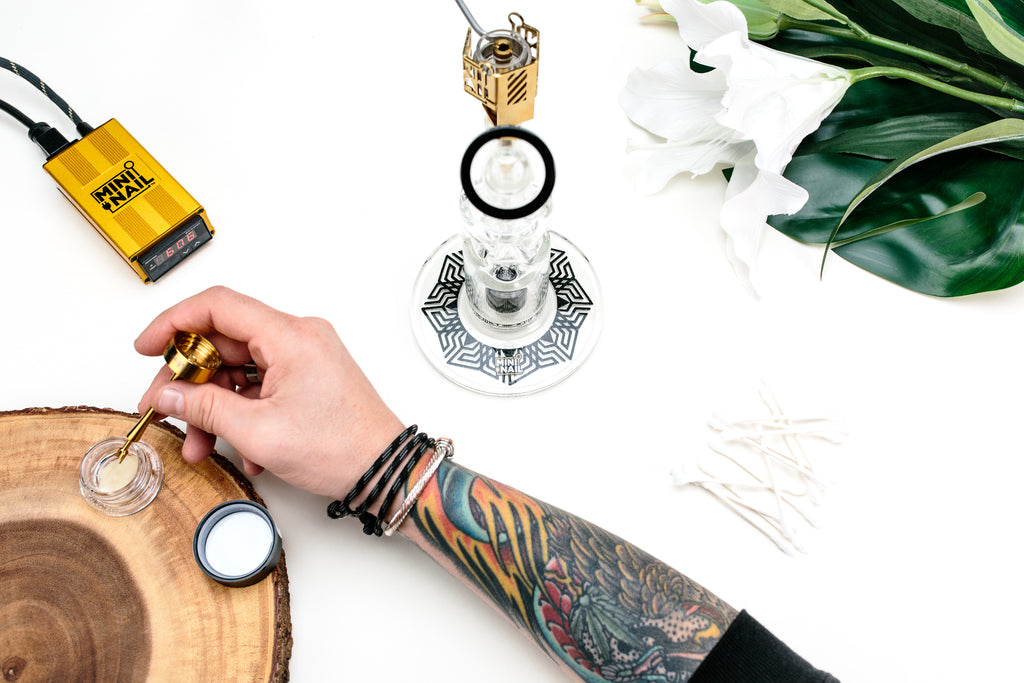
Functional, reliable, and designed to endure, an eNail for your dab rig is an investment that will last you a lifetime – if taken care of properly. The magic of the MiniNail is that it’s designed to stay durable and functional throughout many years of use, so learning how to clean a dab rig properly will keep yours sparkling clean will go a long way in giving it a long and happy life.
In this post, we’ll go through a few tips and tricks that’ll break down best practices for micro enail cleaning and maintenance.
Why Should I Clean My Enail?
While the frequency at which you clean your enail will vary across user preference, first and foremostly, we recommend developing a habit of consistent and preventative care. This is actually a lot simpler than it sounds: if you lightly and quickly clean your MiniNail after each use, you’ll save time and effort doing deep cleans in the long run.
Keeping a stash of Q-tips on hand is a great habit to get used to: using a wet cotton swab after each dab will help prevent residue build-up and hardening. When you wipe off the excess oil after each use, you ensure a much cleaner enail that will give your oil a better taste and smoother hit.
How to Clean Your Titanium Enail
Enails can be a bit quirky to clean, so there are a few things to keep in mind to make sure yours doesn’t accidentally get damaged in the process. For example, many sources suggest avoiding using rubbing alcohol as a cleaning solution for cleaning a titanium nail since the material is porous.
When it comes to cleaning quartz nails, you should avoid getting them to extremely high temperatures – believe it or not, you can actually risk burning the quartz to the point of devitrification. This is when the crystal in your quartz actually undergoes a change in its atomic structure and loses its durability and shine, and can risk undergoing a stress fracture.
Now that we’ve provided a few pointer safety tips, we’ll outline a few alternative tried and tested methods.
The Cotton Swab/ Q-Tip Method
When you're done with each dab, give your e-nail a swipe with a wet q-tip dipped in distilled water. We have found this to be the best method to keep your dish/buckets clean. We have found there to be no devitrification of the quartz with this method either. The q-tip method may sound simple, but trust us this method works.
The Scrape Method
When you want to take care of some minor buildup in your MiniNail, simply use a sharp dabber tool or sharp metal object like a paperclip to get into all of those nooks and crannies. This method is a good first step for cleaning your titanium nail of carbon, but won’t fully take care of any residual stickiness.
The High Heat Method
By far the quickest and most low-maintenance method, torching your enail to clean it simply mimics the motions of setting up to take a hit. All you do is apply a bit of extra heat to your nail so that any residue liquifies, and then simply wipe it clean.
Since MiniNails don’t require an actual torch (bye-bye, butane!) we recommend heating your nail to 1100 F and leaving it on for about 20 minutes to burn off any residual carbon. We recommend an optimal cleaning time of 2-3 times a week, depending on the frequency of use.
How to Clean your Quartz Enail
Although we typically want to avoid cleaning titanium nails with an alcohol-based solution, that’s not the case for a quartz nail, which can benefit from a mini rubbing alcohol bath. Simply soak your quartz nail in a solution of ISO alcohol + a pinch of salt and shake the container to loosen any persistent residue.
If you choose this method, make sure to take a few minutes after soaking to burn off any alcohol traces that might remain by seasoning it. This is done by heating up your quartz nail with tiny amounts of concentrate in them to burn off any chemical residue.
How to Set your Enail Kit to Cleaning Mode
Last but not least, getting your MiniNail into cleaning mode requires noting a few important details.
- Cleaning mode is started and stopped manually in the same way as you would manually set your MiniNail temperature.
- To activate the cleaning mode, press and hold the ^ button until the display reads roughly 1100 F – there’s some leeway in going up or down 50 F.
- Cleaning time – if you’re sticking with the traditional “torch” method, should not go over 15 minutes.
- Once you’re done heating the nail and have scraped any leftover residue, you can return your MiniNail set temperature to the default of 600F by pressing the V button.
For more tips, tricks, and MiniNail best practices download our handy MiniNail User Manual. It’s an excellent resource to have on hand that will cover anything and everything you might need to know when it comes to taking the best care of your device.
